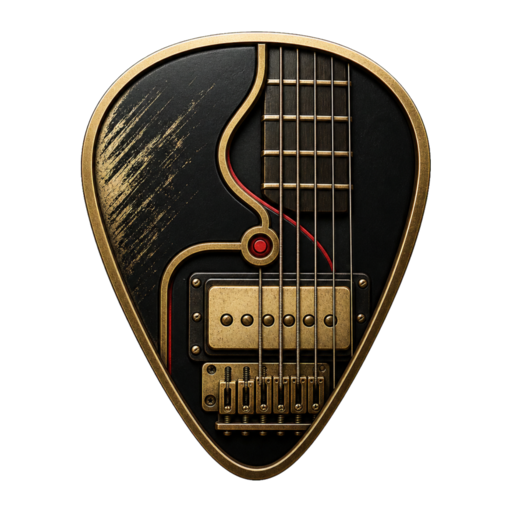
Buying guide · ToneForge
First pedalboard order
A practical pedal buying order for distortion, tuner, delay, modulation, and power.
As an Amazon Associate, ToneForge earns from qualifying purchases. Product links may be affiliate links.
A first board should teach signal flow. Start with a quiet, useful chain before chasing every classic effect at once.
Tuner First
A tuner pedal improves live confidence and can mute the signal between songs.
One Gain Pedal
Start with an overdrive or distortion that fits the player’s genre instead of stacking three similar drive boxes.
Delay Adds Space
A simple analog-style delay is often more useful than a complicated multi-effect for a first board.
Step one
A tuner earns its space immediately.
A tuner pedal is not exciting, but it solves the problem every bandmate hears. It also gives the player a mute switch between songs and a stable first point in the chain. For live players, it belongs before the fun purchases.
- Put the tuner first in the signal chain.
- Choose a readable display for dim rooms.
- Use it as a mute when changing guitars or troubleshooting noise.
Step two
Pick one gain sound that fits the music.
Overdrive, distortion, and fuzz are not interchangeable. A blues or worship player may want a lower-gain overdrive, while punk and hard rock players usually need a stronger distortion. Buying one clear gain voice teaches more than buying three overlapping boxes.
- Overdrive pushes an amp and keeps pick attack.
- Distortion supplies more saturation from a clean amp.
- Fuzz is characterful but less versatile as a first gain pedal.
Step three
Delay adds space without taking over the board.
A simple analog-style delay can make clean parts, solos, and practice loops feel better without menu diving. Start with short repeats and modest mix. The goal is musical space, not a wash that hides timing problems.
- Short slapback works for rockabilly and roots tones.
- Longer repeats help leads feel wider.
- Keep mix low enough that rhythm parts stay clear.
Power and cables
The boring parts decide whether the board is quiet.
Patch cables, power, and board layout are where cheap shortcuts become obvious. A noisy daisy chain or cramped patch cable can make good pedals feel broken. Build the board slowly and leave room for one future effect.
- Use short patch cables that do not strain jacks.
- Upgrade power when noise appears or the board grows.
- Leave space for modulation, reverb, or a second gain later.
How to use the product list
Start with the first product category that solves your real constraint, then move outward. The list below is curated for this guide’s setup path, not ranked by price, rating, discount, or availability.
Common mistakes to avoid
The easy mistake is buying the most exciting item and ignoring the friction around it. A great instrument on a shaky stand, a vocal mic without a stable cable, a bass through a weak amp, or a keyboard without a real sustain pedal can make the whole setup feel less serious than it is.
The better move is to buy the first version that solves the real constraint, then upgrade where the player can hear or feel the limitation. That keeps the rig useful without turning the first purchase into a pile of speculative extras.
Quick answers
Should beginners buy everything at once?
Buy the pieces that remove friction on day one, then wait on taste-based upgrades. A stable stand, tuner, cable, and comfortable playing position usually matter more than a flashy extra effect.
Why are prices and ratings not shown here?
Retailer prices, ratings, and availability change constantly. The guide focuses on fit, tradeoffs, and product paths, then sends you to the retailer page for the live details.